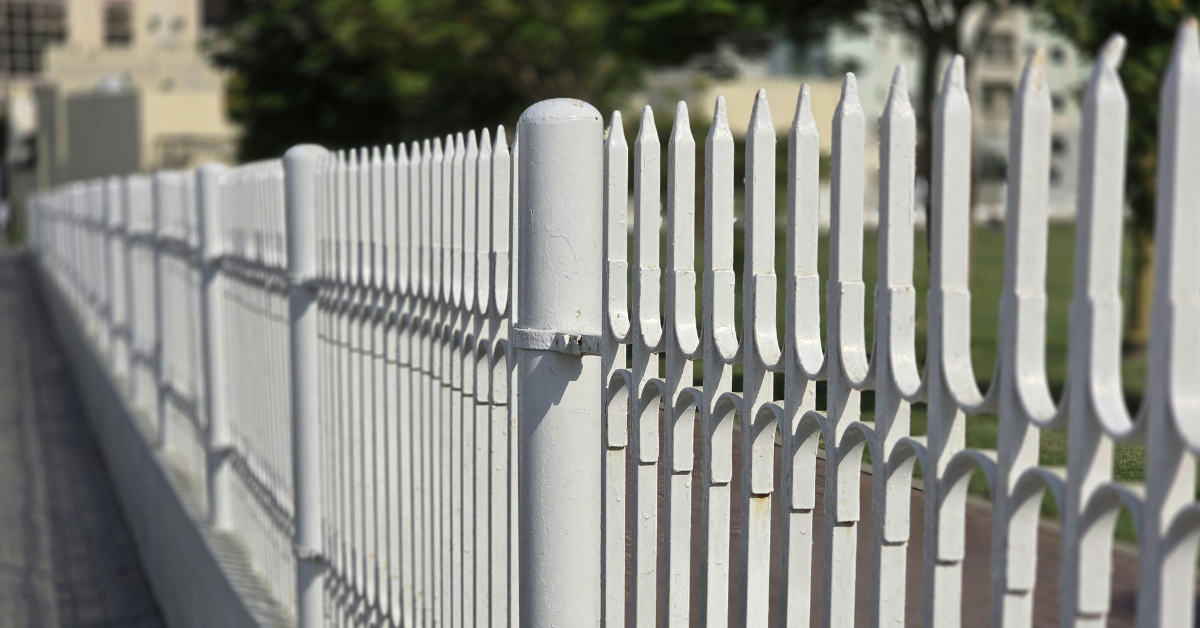
Installing a fence can feel confusing at first. It feels even harder when the ground is uneven. Slopes, small hills, and dips can make people worry. But aluminum fencing is a great choice for these situations. It is strong, flexible, and looks clean. With the right steps, Aluminum Fence Installation on uneven ground can be done smoothly.
Aluminum fences are popular for many reasons. They do not rust. They last a long time. They also look neat and modern. When installed properly, they follow the shape of the land. This guide explains everything in very simple words. Each step is easy to understand and follow.
Why Aluminum Fences Work Well on Uneven Ground
Uneven ground is common in many yards. Few yards are perfectly flat. Aluminum fencing works well because it can be adjusted. Panels can be racked to follow slopes. This means the fence moves with the ground instead of fighting it.
Aluminum is also lightweight. This makes it easier to handle during installation. Posts are easier to position. Panels are easier to lift and adjust. This reduces stress during the process.
Another reason aluminum is a good option is strength. Even when adjusted for slopes, it stays sturdy. The fence looks straight and balanced. This is why many people choose aluminum for uneven yards.
Planning Before You Start the Installation
Planning is the most important step. Before any digging starts, take time to look at the yard. Walk along the area where the fence will go. Notice slopes, dips, and high points. This helps avoid surprises later.
Mark the fence line clearly. Use string or small flags. This shows the path of the fence. It also helps you see how uneven the ground really is. Good planning makes Aluminum Fence Installation much easier.
Check local rules before starting. Some areas have fence height limits. Others require permits. Knowing this early saves time. It also avoids problems after the fence is built.
Measuring the Uneven Ground Correctly
Measuring uneven ground takes patience. A tape measure alone is not enough. Use a string line to show the fence height across slopes. This gives a clear picture of how panels will sit.
Measure the distance between posts carefully. Keep spacing consistent. Even on slopes, spacing should stay the same. This helps panels fit correctly.
Take notes while measuring. Write down slope changes. These notes help during installation. They also help you decide how much racking is needed for each section.
Choosing the Right Aluminum Fence Style
Not all aluminum fences work the same way. Some are made for flat ground only. Others are designed to rack. For uneven ground, rackable panels are best.
Rackable panels can tilt up or down. This allows them to follow the slope. The fence stays close to the ground without large gaps. This makes the fence look clean.
Choose a style that matches your yard and home. Aluminum fences come in many designs. Some look classic. Others look modern. Durable and stylish aluminum fence solutions improve the look of any property.
Setting Fence Posts on Uneven Ground
Fence posts are the foundation. If posts are placed wrong, the fence will fail. Start by digging post holes along the fence line. Hole depth should be the same, even on slopes.
Place the posts in the holes and check their height. On uneven ground, some posts will be taller than others. This is normal. What matters is that the fence panels line up correctly.
Use a level to keep posts straight. Even if the ground slopes, posts must be vertical. Pour concrete around the posts. Let it set fully before moving on. Strong posts are key to Aluminum Fence Installation success.
Adjusting Panels to Follow the Slope
Once posts are set, panels can be installed. This is where aluminum really shines. Panels can be adjusted to match the slope. This process is called racking.
Attach the panel to one post first. Then gently tilt it until it matches the ground. Secure it to the next post once aligned. Take your time with this step.
Check spacing at the bottom of the panel. Gaps should be even. Small gaps are normal on slopes. The goal is balance and a clean look. Step back often and look at the fence from a distance.
Handling Steep Slopes the Right Way
Some yards have steep slopes. In these cases, racking alone may not be enough. A stepped installation may be needed. This means panels step down instead of tilting.
Each panel sits level, but lower than the last one. This creates a stair-like pattern. It works well for very steep areas. It also keeps panels strong.
Stepped installations take more planning. Measurements must be precise. Posts must be set at different heights. When done right, the result looks neat and professional.
Securing the Fence Panels Properly
Once panels are aligned, they must be secured well. Use the hardware provided with the fence. Do not skip any fasteners. Each connection adds strength.
Check all screws and brackets. Make sure nothing is loose. A secure fence lasts longer and feels solid.
After securing each panel, give it a gentle shake. It should not wobble. If it does, adjust the connection. Strong attachment is key in Aluminum Fence Installation.
Final Checks After Installation
After all panels are installed, walk the full fence line. Look for uneven gaps. Check that panels follow the slope smoothly. Small adjustments may be needed.
Check post caps and rails. Make sure everything is in place. Clean any dirt or concrete spills. This improves the final look.
Open and close any gates. Gates on uneven ground need extra care. Make sure they swing freely. Proper alignment prevents sagging later.